
Graveyard Keeper 2 Zombies Guide — Automation, Squads & Zombie Workers
How zombies work in Graveyard Keeper 2: your first workers, worker-plus-supplier automation, tools, red skulls, squads — and avoiding the zombie cap debuff.
FAQ
Why won't my zombies work in Graveyard Keeper 2?
How do you get more zombies in Graveyard Keeper 2?
What do red skulls do on zombies?
Can zombies use swords in Graveyard Keeper 2?
How many zombies can you have?
Can zombies fully automate everything?
How do zombie workers work in Graveyard Keeper 2?
A zombie worker runs a station you assign it to — but it never fetches its own materials. The working zombie needs the right tool and stands at the station; a second zombie on a supply or porter station shuttles materials in and finished goods out of nearby chests. That two-zombie pair is the foundation of every automated line.
The part that trips up every launch-week player: when you craft, materials are pulled out of your chests automatically. When a zombie crafts, nothing moves on its own. Multiple players hit the same wall before figuring it out — one Steam poster summarized it as “zombie workers don’t pull resources directly from chests or deposit crafted items, you’ll need a Zombie Supply station manned with a second zombie to do the running around.” A nearby chest with free slots is part of the recipe; without one, deliveries fail even with a porter on duty.
Two more structural rules follow from that design:
- One worker + one supplier is the baseline, but a porter is not one-to-one. The game starts you with two zombies precisely so you can run this pair, and experienced players report a single porter can serve several workstations — it just cannot be everywhere at once, so busy lines wait on it.
- The station decides the job, not the zombie. A zombie parked at a furnace does furnace work; move the same zombie to a sawmill and it does sawmill work. What changes between stations is which tool and which talent the work demands — more on that below.
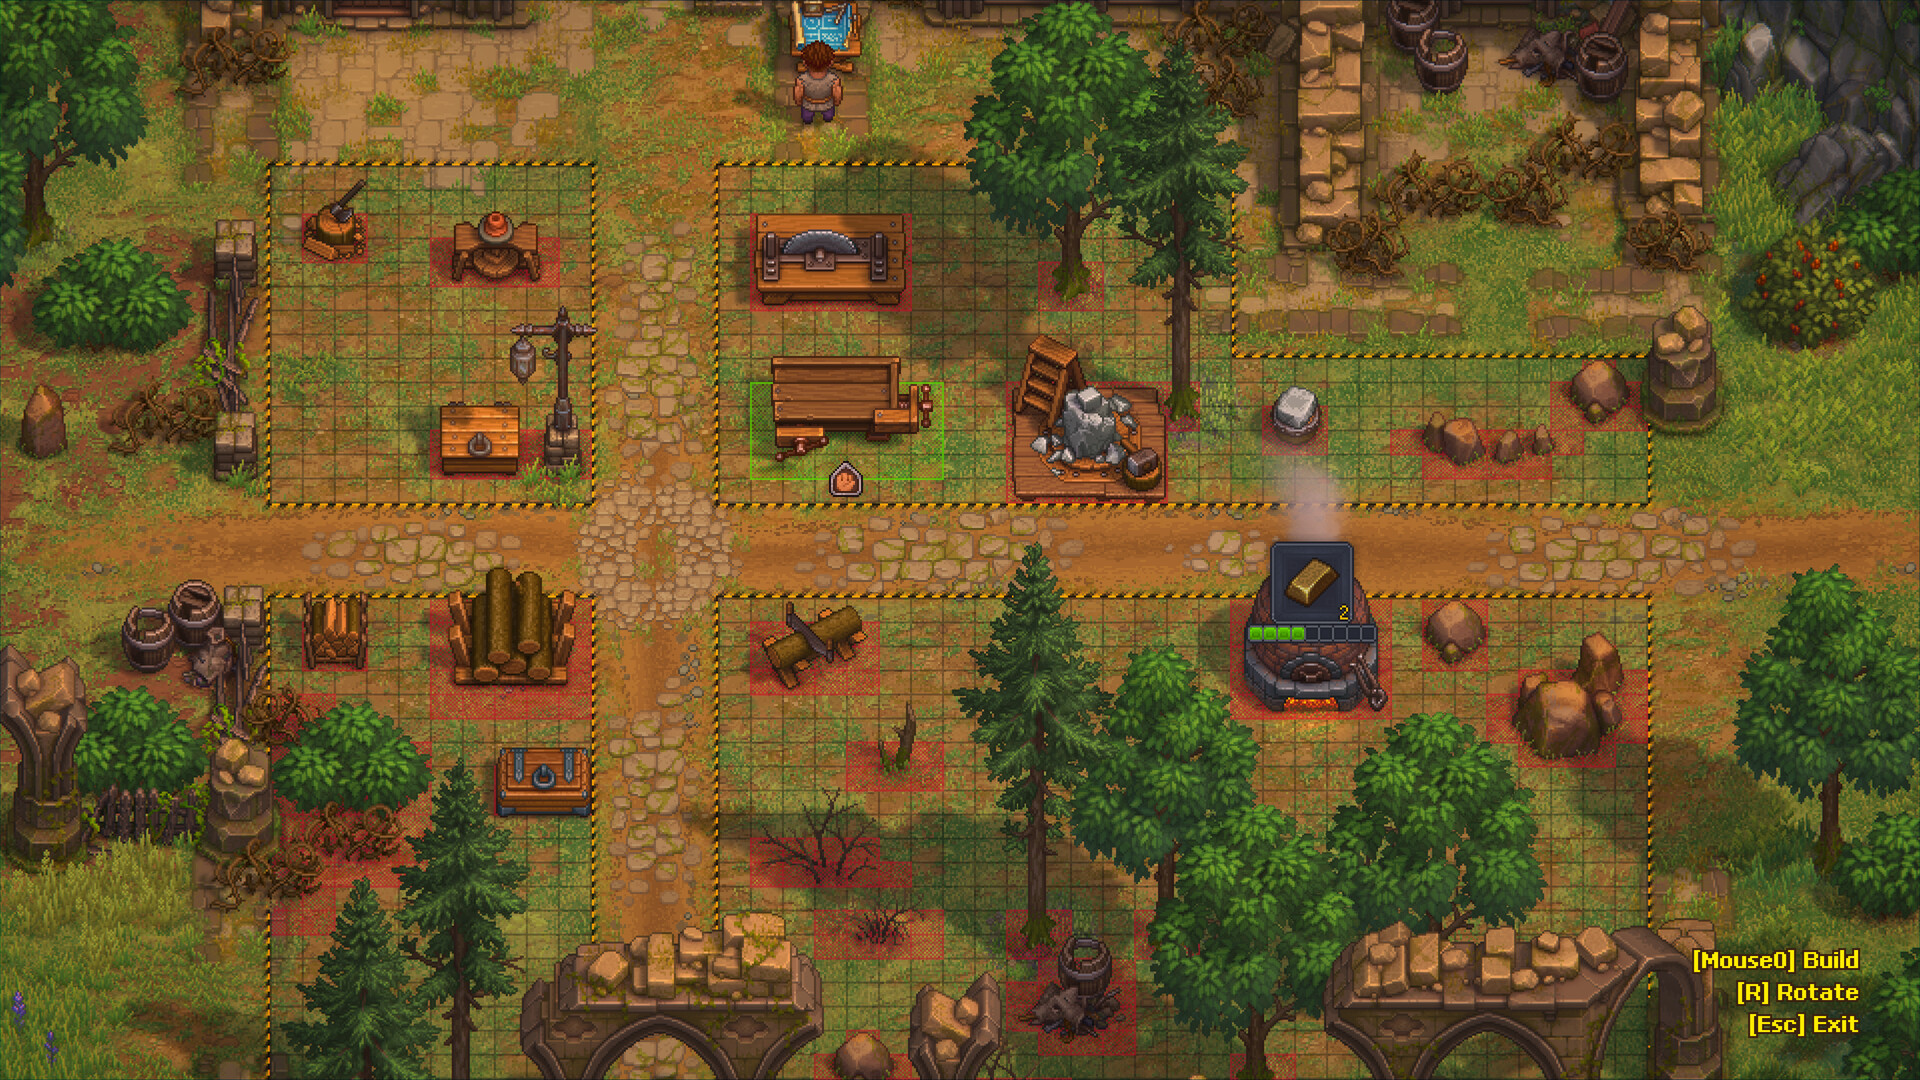
How do you get zombies in Graveyard Keeper 2?
The story hands you five free zombies — players report two from the plague doctor and three from the astrologer — and after that you raise your own at the Resurrection Table in the morgue. Resurrection only works on Envy Day, the green day of the week, so prep your bodies and materials in advance.
The community’s recommended sequence for your first Envy Day:
- Work the quest lines. The plague doctor and astrologer chains hand out your first zombies plus starting supplies (players report free necklaces/collars and reanimation liquid) — no crafting needed for the first five.
- Prepare a body before the green day arrives. You need a corpse on the Resurrection Table with quest and item requirements met; Update 1.005 specifically fixed cases where zombies could not be resurrected despite meeting them.
- Raise, equip, assign. A fresh zombie has zero talent in everything — give it a tool before judging whether it “works.”
- Save your own mass production for the cave. Players who rushed self-made zombies early found the real factory underneath the yard: once you open the cave and clear the rubble, zombie mass production opens up properly.

Complete ZOMBIE GUIDE For GRAVEYARD KEEPER 2 — Ic0n Gaming
Why won’t my zombies start working?
Nine times out of ten the cause is one of four things: no tool for that station, skill below the recipe’s minimum, no supplier zombie feeding the station, or a full chest. Update 1.005 made this diagnosable — pending zombie crafts now show when the skill level is too low, with craft-lock and wait-delivery icons.
Run down this table before blaming the patch:
| Symptom | Likely cause | Fix |
|---|---|---|
| Zombie stands at the station doing nothing | No tool, or a tool of the wrong talent | Give a tool of the station’s color (hammer for the forge, axe for woodcutter, shovel for farming) |
| Craft won’t start at all | Zombie skill below the recipe’s minimum talent | Better tool tier, or spend the zombie’s own tech points on perk nodes |
| Materials never arrive | No supplier zombie, or the chest has no free slots | Put a second zombie on a supply/porter station; empty or re-arrange the chest |
| Queue stalls but icons look fine | Porter stuck or delivery position blocked by another building | Early-game pathing bugs — reported repeatedly at launch; re-place the zombie or the blocking building |
| Cooking station burns ingredients, no dish | The launch cooking bug | Fixed in Update 1.006 — update if you are still on 1.005 or earlier |

How to Get Zombies Working in Graveyard Keeper 2 — Wasting
What do tools, talents, and red skulls do for a zombie?
Every zombie has the same five talents you do — orange for woodwork, red for smithing and furnaces, green for garden and kitchen, yellow for writing, blue for anatomy and alchemy — and the station decides which talent matters. A tool of the station’s color is required to start most recipes, and red skulls on the body decide how many perk nodes that zombie may ever buy.
One Steam guide that reads the game’s own data files (version 1.005) lays out the numbers, and its three core findings match what every launch-week player discovered by trial and error:
| System | What it does | Key numbers (data-file guide, v1.005) |
|---|---|---|
| Talents (0 to start) | Gate which recipes a zombie may run; speed past the minimum caps at 3× the recipe’s requirement | Most recipes need talent 1–6; late anvil/writing-desk recipes 10–16 |
| Tools (hand slot) | Add to one specific talent and stack with perks; a fresh zombie needs one to start anything | Rusty +1, bronze +2, iron +4, steel +6 (axes, pickaxes, shovels, hammers) |
| Red skulls | Each red skull is one perk slot in the zombie’s own tree — 85 nodes total across five branches | First node of a branch: 50 red (building/smithing), 50 green (gardening), 25 blue (writing/anatomy) |
Red skulls deserve their own warning because they are the one thing you cannot grind for later — the corpse carries them into resurrection. Embalming mixtures shift the skull balance (some add red, some trade white for red or the reverse), and every botched autopsy part costs one white and one red skull at once. For zombies only red skulls count; white skulls matter solely for your burial rating. Prepare bodies for raising with red, and bodies for the grave with white.
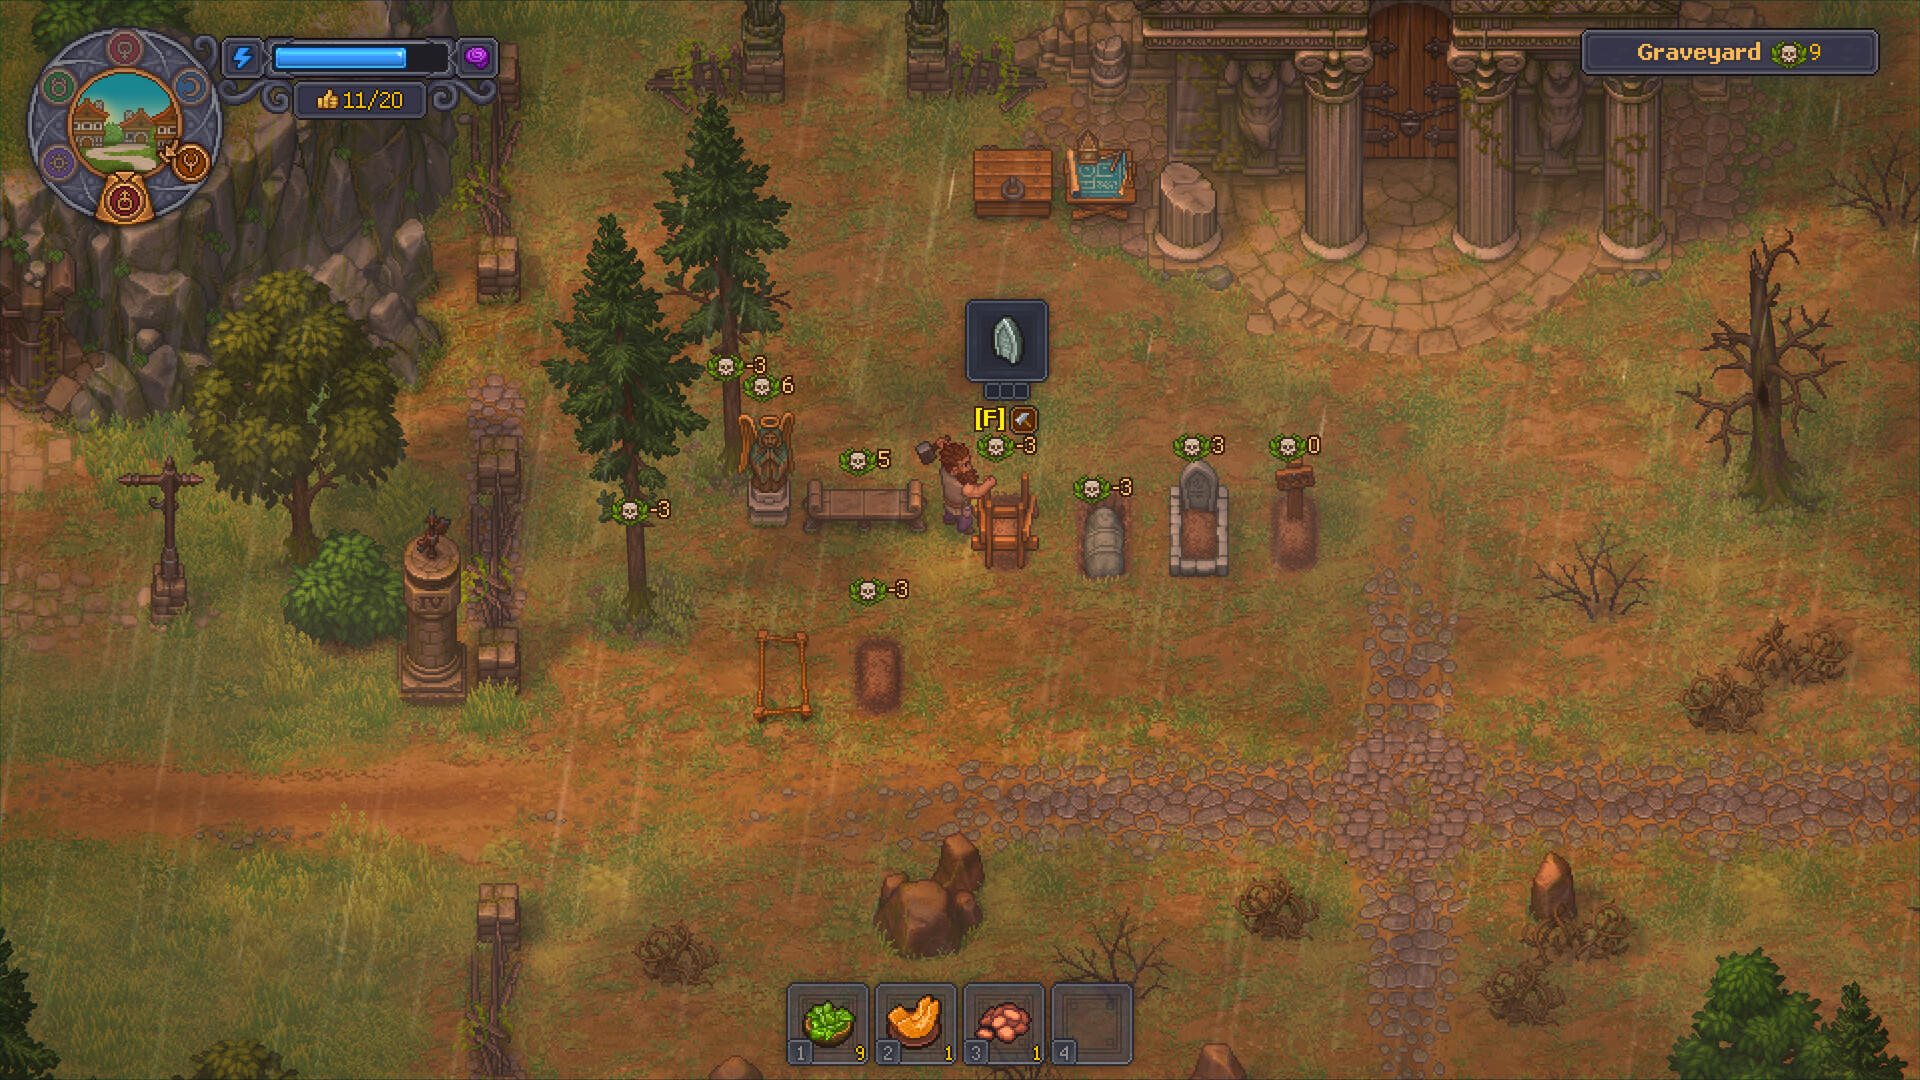
Collars (the necklace slot) then cap how many red skulls a zombie can actually use — the data-file guide reports bronze at 5, gold at 10, and steel effectively unlimited. Quality-obsessed players should also know that output quality only exists in a handful of places: the kitchen table, writing desk, printing press, formulation bench, and carpenter’s bench. Everywhere else — furnace, anvil, sawmill — talent only buys speed.
Bronze / silver / gold talent thresholds (data-file guide, single source)
Per the same Steam guide, only these stations produce quality tiers, and the zombie’s talent (tool + perks included) decides which tier you get:
- Kitchen table (green) — salads and sauerkraut: 1 / 4 / 7
- Writing desk (yellow) — prayers and stories: from 1 / 6 / 10 up to 4 / 10 / 14 for late recipes
- Printing press (yellow) — 1 / 6 / 10
- Formulation bench (blue) — solutions 1 / 4 / 8, injections 1 / 6 / 12
- Carpenter’s bench (orange) — 2 / 4 / 6
The guide’s practical conclusion is worth stealing: level one talent per zombie. Spreading points across five branches is a reliable way to never reach a single gold threshold, and tech points accumulate slowly.
Which jobs should you automate first?
Automate the boring, high-volume loops first: gardening, furnace duty, and one cooking chain. The community’s early game template is to put one zombie on garden duty and the rest to work or militia, then expand into raw-resource production once the factory opens — letting tech points accumulate while you play normally.
A few setups players converged on in launch week:
- Gardening — the zombie needs a shovel in hand and planting tablets from the construction menu telling it what to grow in each bed. Bronze shovels are enough for wheat and vegetables (tool tiers are covered in our items overview); one Reddit player recommends flax and cabbage specifically, since cabbage soup needs nothing but water.
- Furnace and kitchen duty — these earn the zombie red tech points on every craft, which funds its own perk tree. A full cooking chain is hungrier: one player’s setup used four zombies (mill, dough, oven, supplier) because cooked food is a long recipe chain.
- Porter and conveyor duty — output has to travel, and per the data-file guide, porters and the Zombie Carousel ignore talent, skulls, and tools entirely: every zombie carries the same. Your worst zombie is not wasted as a porter.
The payoff for all this bookkeeping is passive progression: while your zombies craft, they bank their own tech points — points from your own crafting drop on the floor, but points from zombie crafting go straight into that zombie’s personal pool, funding perk levels without you grinding a single extra recipe. Tools you craft for all this are covered in our items overview.
How do zombie squads work?
Squads are the combat side of your workforce: zombies equip armor and either a pike or a bow — never swords — and must have armor before they can be slotted into a squad at the barracks manacles. Since Update 1.006, zombies even earn red tech points from fights, so every battle trains your workers as well as your soldiers.
The squad basics the community settled on:
- Two weapons only. Pikes for the front line, bows for the back — players who crafted five swords on day one found the hand slot rejected every one. Swords are for the Keeper.
- Armor is the entry ticket. No armor, no squad slot.
- Power comes from everywhere. The data-file guide reports the Zombie Carousel contributes a flat 7 power to whoever turns it (+3 more with your Belt Master perk), so supporting structures matter as much as individual zombies.
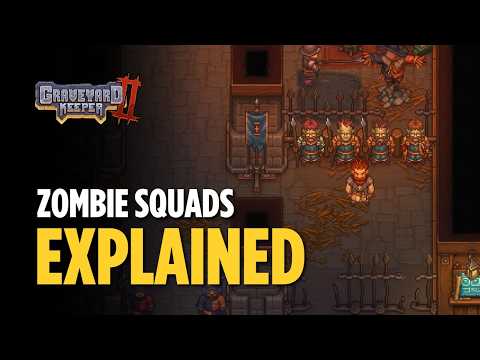
Zombie Squads explained — Graveyard Keeper 2 (The Lost Noob)
What is the zombie limit and how do you avoid the debuff?
The zombie limit is the game’s population control: it switches on after the astrologer’s PR ceremony and shows as “zombies / limit” in the resurrection room. Going over your limit applies the “Excessive zombies” debuff, and the place it hurts most is your wallet’s twin — sermon payouts.
What raises the limit, per the data-file guide and the players fighting the debuff in week one:
| Source | Reported effect | Confidence |
|---|---|---|
| Good Fellow perk (your yellow tree) | +10 zombie limit | Two independent sources agree on 10 |
| PR Machine runs | Raises the limit while a run lasts (+10/20/30/50/80 reported) | Mechanic confirmed by multiple players; exact tiers single source |
| Astrologer’s hypno device | +5 for a while | Single source (game data), duration untested |
| Base limit before any of the above | Unclear — several players report hitting the debuff with just the five free story zombies | Untested; treat as a small number |
The community’s verdict on dealing with it: do not panic-hoard zombies early. The five free ones can carry your first automation pairs and squads; grab the Good Fellow perk when your yellow tree allows, and upgrade the PR machine early — players who did report it “saves a lot of faith” over paying for the debuff’s consequences week after week.
Should you automate everything with zombies?
Eventually — but in the right order. The launch-week consensus: automate raw resources first (gardening, wood, stone), then supply trade goods, then building needs, and leave large-scale production for the factory under the yard once the cave is open. Rushing automation before you have supplier capacity just creates idle zombies standing in front of full stations.
Once the workforce hums, the game quietly turns into a management idle: zombies bank tech points, porters feed the line, and your morning is free for graves, quests, and sermons. The opening-days side of that routine — quest order, Envy Day prep, and the faith economy — lives in our beginner guide, and what your new production lines earn in our money-making guide. Most zombie-adjacent achievements live in the achievements list — and a Keeper who paired every worker with a supplier will find the automation ones unlock themselves.
Related videos


Related Articles
achievements
Graveyard Keeper 2 Achievements Guide — Full Checklist & Missables
All 38 Graveyard Keeper 2 achievements with unlock conditions, the five hidden ones, global unlock rates, and an honest look at what is actually missable.
guides
Graveyard Keeper 2 Beginner Guide — Your First Days in The Town
A launch-week starter route for Graveyard Keeper 2: what to do first, which day unlocks what, how faith and insanity work, and the GK1 habits to unlearn.
guides
Graveyard Keeper 2 Corpse & Autopsy Guide — Best Bodies & Red Skulls
How the autopsy system works in Graveyard Keeper 2: organ swap rules, the Oops Surgeon inspiration trap, embalming fluids, grave rating, and red-skull zombies.
Was this helpful?
Thanks for the feedback!